So, you’ve got an iPhone and you want to capture those beautiful moments around you, but you’re not quite sure how to take good iPhone pics. Don’t worry, we’ve got you covered! In this article, we’ll guide you through some simple tips and tricks that will help you turn your ordinary snapshots into stunning photographs. From composition techniques to lighting tips, you’ll soon be snapping professional-looking pictures with just a few taps of your screen. Get ready to unlock the full potential of your iPhone camera and impress your friends and followers with your newfound photography skills!
Understanding Lighting

Utilize Natural Light
When taking photos with your iPhone, one of the most important aspects to consider is lighting. Natural light can significantly enhance the quality of your pictures. To make the most of natural light, try shooting your subjects outdoors during the golden hour, which is the period shortly after sunrise or before sunset. During this time, the light is softer and more flattering, creating a warm and inviting atmosphere in your photos.
Avoid Harsh Shadows
Harsh shadows can be distracting and take away from the overall composition of your images. To avoid this, position your subject in a way that avoids direct sunlight or strong overhead lighting. Alternatively, you can use reflectors or diffusers to soften the light and reduce the contrast between light and shadow. By doing so, you’ll be able to capture a more evenly lit and visually appealing photograph.
Experiment with Different Lighting Situations
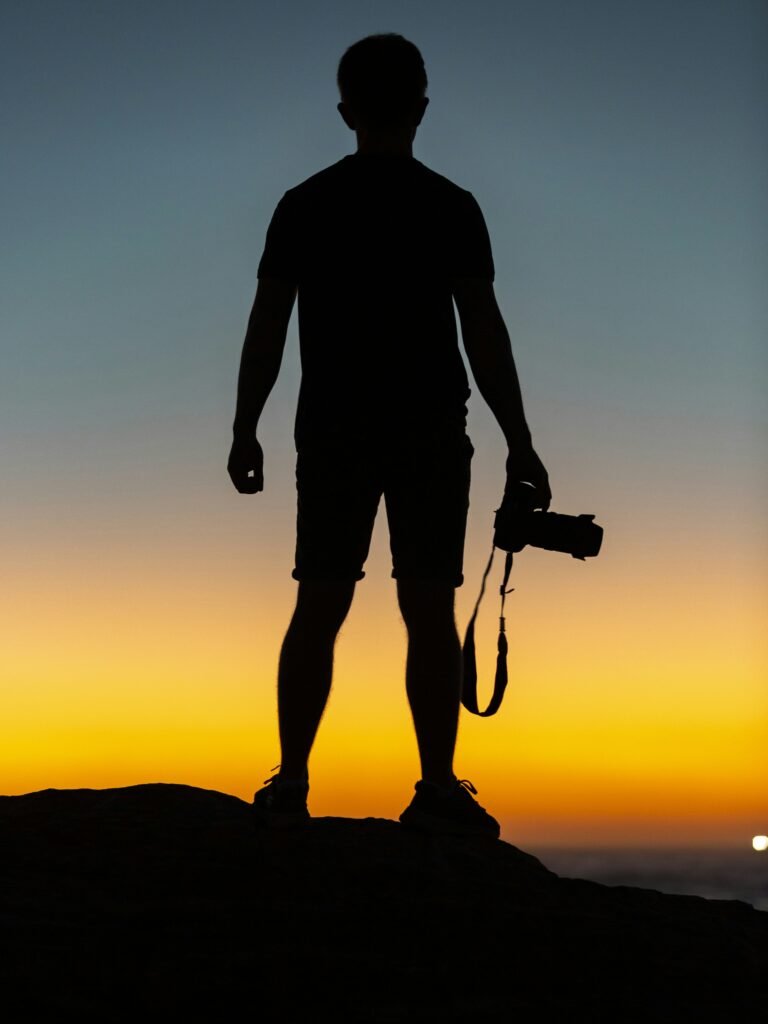
Don’t limit yourself to just natural light. Experiment with different lighting situations to add variety and creativity to your iPhone photography. Try using artificial light sources such as lamps, candles, or even fairy lights to create unique and atmospheric images. Additionally, consider exploring various lighting techniques such as backlighting or silhouette photography to add drama and interest to your shots. Embrace different lighting situations and let your creativity shine through!
Mastering Composition
Rule of Thirds
The rule of thirds is a fundamental principle in photography that involves dividing your frame into a grid of nine equal parts using two horizontal and two vertical lines. The goal is to position your subject or key elements along these gridlines or at their intersections, known as power points. This technique helps create a more balanced and visually pleasing composition. To activate the gridlines on your iPhone, go to Settings > Camera > Grid and enable it.
Leading Lines
Leading lines are a powerful composition technique that can guide the viewer’s eye towards the main subject or create a sense of depth in your photos. Look for natural lines, such as roads, fences, or even architectural elements, that can act as leading lines in your composition. By positioning these lines strategically, you can create a dynamic and engaging photograph that draws the viewer’s attention and adds visual interest.
Symmetry and Patterns
Symmetry and patterns can add a sense of order and harmony to your iPhone photos. Look for symmetrical subjects or scenes and position them centrally within your frame to highlight their balanced beauty. Patterns, such as repeating shapes or colors, can also create captivating images. Keep an eye out for interesting patterns in nature, architecture, or everyday objects. By incorporating symmetry and patterns into your compositions, you can capture visually stunning and eye-catching photographs.
Using Gridlines
Activating the Gridlines
Gridlines serve as a helpful tool to improve the composition of your iPhone photos. To activate gridlines on your iPhone, go to Settings > Camera > Grid and enable it. Once activated, you’ll see a grid overlay on your camera screen, which will help you align your subjects and elements according to the rule of thirds or other composition techniques.
Aligning Subjects with Gridlines
When composing your shots, use the gridlines as a guide to align your subjects with the intersecting points or along the horizontal and vertical lines. This will help you create a more balanced and visually appealing composition. For example, if you’re photographing a person, consider positioning their eyes along one of the horizontal lines, while aligning other elements such as the horizon along the vertical lines.

Creating Balanced Compositions
Gridlines can also assist you in creating balanced compositions by evenly distributing the visual weight of your subjects and elements within the frame. By placing your main subject or key elements along the gridlines or at their intersections, you can achieve a more harmonious and balanced composition. Experiment with different placements and use the gridlines to guide your creative decisions.
Focus and Exposure
Tapping to Focus
The iPhone camera allows you to manually adjust the focus of your shots by tapping on the desired subject or area on the screen. When tapping on the screen, a yellow square or box will appear, indicating the focus point. This feature is particularly useful when photographing subjects with varying distances or when you want to highlight a specific detail. Take advantage of tapping to focus and ensure that the most important part of your image is perfectly sharp and in focus.
Adjusting Exposure
In addition to focusing, you can also adjust the exposure of your iPhone photos manually. After tapping to focus, simply swipe up or down on the screen to adjust the exposure level. Swipe up to make the image brighter or swipe down to darken it. This feature is especially handy in situations where the lighting conditions are challenging, such as when you have a brightly lit background or a heavily backlit subject. By manually adjusting the exposure, you can ensure that your photos are properly exposed and capture the desired level of brightness.
Using AE/AF Lock
The AE/AF Lock (Auto Exposure/Auto Focus Lock) feature on your iPhone allows you to lock the focus and exposure settings, ensuring that they stay constant even if you recompose your shot. To activate this feature, simply tap and hold on the screen until the yellow square or box starts to blink. This is particularly useful in situations where you want to take multiple shots with the same focus and exposure settings or when the lighting conditions are consistent but you need to recompose your frame. By using AE/AF Lock, you have greater control over the focus and exposure of your photos.
Utilizing HDR Mode
Understanding HDR
HDR stands for High Dynamic Range and is a mode on your iPhone camera that helps capture photos with a greater range of details in both the bright and dark areas of the image. When HDR mode is enabled, your iPhone takes multiple photos at different exposures and then combines them to create a final image with a balanced exposure and enhanced details. This is particularly useful in high-contrast scenes where you have bright highlights and deep shadows.
When to Use HDR
HDR mode is ideal for situations with challenging lighting conditions, such as when you’re photographing a landscape with a bright sky and darker foreground or when there are strong shadows and highlights in the scene. It can help you capture a more balanced and natural-looking photo by preserving details in both the bright and dark areas. However, in scenes with minimal contrast, it may not be necessary to use HDR mode as it can sometimes result in over-processed images.
Settings and Tips for HDR Mode
To enable HDR mode on your iPhone, simply open the Camera app and tap on the HDR icon. By default, your iPhone will automatically decide whether to use HDR based on the scene. However, if you prefer more control, you can go to Settings > Camera > HDR (under the Photos & Camera section) and select “Keep Normal Photo” to save both the HDR and non-HDR versions of the image. This allows you to choose the one that best suits your preferences during the editing process. Keep in mind that HDR mode may slightly increase the processing time of your photos, so make sure to hold the camera steady or use a tripod for best results.
Capturing Action Shots
Burst Mode
Burst mode is a valuable feature on your iPhone that allows you to capture a series of photos in rapid succession by simply holding down the shutter button. It’s perfect for capturing fast-paced action or ensuring that you don’t miss a crucial moment. To activate burst mode, press and hold the shutter button or use the volume-up button while in the Camera app. After capturing a burst of photos, you can choose the best shots from the sequence or create an animated image using the Live Photos feature.

Panoramic Shots
Capture sweeping vistas or wide-angle scenes with the panoramic mode on your iPhone. To activate this feature, open the Camera app, swipe left on the shooting modes until you reach “Pano,” and then tap the capture button. Follow the on-screen instructions and move your iPhone steadily in one direction to capture the scene. Panoramic shots are great for capturing landscapes, city skylines, or any scenario that requires a wider field of view. Make sure to keep your movements smooth and avoid jerking or changing speeds to achieve a seamless panorama.
Live Photos
Live Photos breathe life into your still images by capturing a brief video clip along with the photo. To enable Live Photos, tap on the concentric circles icon at the top of the Camera app to activate it. Once enabled, simply take a photo as you normally would, and your iPhone will automatically record a few seconds of video before and after the photo is taken. To view the animated image, go to your Photos app and press and hold on the image. Live Photos add a dynamic element to your captures and allow you to relive the moment in a more immersive way.
Editing and Enhancing
Basic Editing Tools
Enhance your iPhone photos with the built-in editing tools available in the Photos app. After capturing a photo, open it in the Photos app, and tap on the “Edit” button. From there, you can adjust various aspects such as exposure, contrast, saturation, and sharpness. You can also crop and straighten your image, apply filters, and even remove red-eye. Experiment with these basic editing tools to enhance the overall look and feel of your photos and make them truly stand out.
Using Filters
Filters are a quick and easy way to add a unique touch to your photos. The Photos app on your iPhone offers a range of filters that can instantly transform the mood and style of your images. To apply a filter, open a photo in the Photos app, tap on the “Edit” button, and then select the filters icon (three overlapping circles). Choose the filter that best suits your image and adjust the intensity using the slider. Remember, filters should enhance your photo, not overpower it. Use them sparingly and consider the overall aesthetic you want to achieve.
Exploring Third-Party Editing Apps
If you want to take your photo editing to the next level, consider exploring third-party editing apps available on the App Store. These apps offer an extensive range of advanced tools and features, allowing you to fine-tune your images with precision. Popular editing apps for iPhone include Adobe Lightroom, VSCO, and Snapseed. Whether you want to adjust colors, apply selective edits, or add creative effects, these apps provide you with the flexibility to unleash your creativity and take your photos to new heights.
Utilizing Portrait Mode
Understanding Portrait Mode
Portrait Mode is a powerful feature available on select iPhone models that allows you to capture stunning portrait photos with a beautifully blurred background, also known as the bokeh effect. This feature simulates the depth-of-field effect typically achieved with DSLR cameras, bringing the subject into sharp focus while creating a soft and pleasing background. Portrait Mode works by using the dual cameras on certain iPhone models to analyze the scene and separate the subject from the background.
Creating Depth and Bokeh Effects
To capture photos in Portrait Mode, open the Camera app and select the “Portrait” shooting mode from the options at the bottom of the screen. Position your subject at an appropriate distance and ensure that there is enough distance between the subject and the background. The iPhone will provide on-screen prompts to guide you and indicate whether the subject is within the recommended distance. When you’re ready, tap the shutter button to take the photo. Experiment with different distances and compositions to create captivating depth and achieve stunning bokeh effects.
Portrait Lighting Options
Portrait Mode also offers various lighting options that allow you to further enhance your portrait photos. These options simulate different lighting scenarios, such as Natural Light, Studio Light, Contour Light, Stage Light, and Stage Light Mono. Each option creates a different mood and effect, adding depth, drama, or even a black-and-white aesthetic to your portraits. To access the Portrait Lighting options, open the photo in the Photos app and tap on the “Edit” button. From there, you can swipe between the different lighting options and choose the one that best suits your photo.
Taking Macro Shots
Getting Close to the Subject
One of the secrets to capturing stunning macro shots with your iPhone is to get as close as possible to the subject. The built-in camera on your iPhone allows you to focus on subjects at a close distance, revealing intricate details that are often unseen to the naked eye. To get closer to your subject, tap on the screen to manually focus and adjust the exposure. Take your time and explore the beauty in the small details, whether it’s the delicate petals of a flower or the texture of a leaf.
Using a Macro Lens
For even more impressive macro photography, consider using a macro lens attachment specifically designed for the iPhone. These lenses allow you to get extraordinarily close to your subject and capture stunning details with even more clarity and precision. Macro lenses are available in a variety of magnifications, allowing you to choose the level of magnification that best suits your creative vision. Experiment with different macro lenses and discover a whole new world of tiny wonders waiting to be captured.
Controlling Depth of Field
Controlling the depth of field is crucial in macro photography to create a visually appealing image. To achieve a shallow depth of field, which creates a dreamy and isolated effect, position your subject at a close distance and ensure that the background is far away. This will naturally blur the background, drawing attention to the main subject. On the other hand, if you want to capture more details and maintain a larger depth of field, adjust the distance between your subject and the background accordingly. By understanding and manipulating the depth of field, you can create stunning macro shots with a unique and artistic touch.
Exploring iPhone Camera Features
Time-Lapse Mode
Time-lapse mode allows you to capture a sequence of photos over an extended period and then compresses them into a video clip. This feature is perfect for capturing events that unfold slowly or for capturing the passage of time. To use time-lapse mode, open the Camera app, swipe left on the shooting modes until you reach “Time-Lapse,” and then tap the record button. Position your iPhone securely to ensure stability and let it capture the scene for as long as you want. Time-lapse videos can be a captivating way to document anything from a sunrise to the construction of a building.
Slo-Mo Mode
Slo-Mo mode is a fun and creative feature that allows you to capture videos at a higher frame rate, resulting in a slow-motion effect when played back. To activate slo-mo mode, open the Camera app, swipe left on the shooting modes until you reach “Slo-Mo,” and then tap the record button to start capturing. It’s perfect for capturing fast-moving action or for adding a dramatic and visually captivating element to your videos. Experiment with different subjects and movements to create mesmerizing slow-motion clips that add a unique touch to your iPhone photography.
Cinematic Video Stabilization
Cinematic video stabilization is a built-in feature on your iPhone camera that helps reduce camera shake and produce smoother and more professional-looking videos. This feature works by utilizing the built-in gyroscope and optical image stabilization technology to compensate for any unwanted camera movements. It’s particularly beneficial when capturing videos handheld or when you’re in motion. To activate cinematic video stabilization, simply start recording a video using the Camera app, and the feature will automatically engage. Enjoy the freedom to capture steady, high-quality videos without the need for additional stabilizing equipment.
Taking good iPhone photos is all about understanding and utilizing the various features and techniques available to you. By mastering lighting, composition, focus and exposure, exploring different camera modes, and enhancing your photos through editing, you’ll be well on your way to capturing amazing pictures with your iPhone. Remember to keep experimenting, practicing, and most importantly, have fun while exploring the endless possibilities your iPhone camera has to offer!


