How To Replace iPhone XR Screen
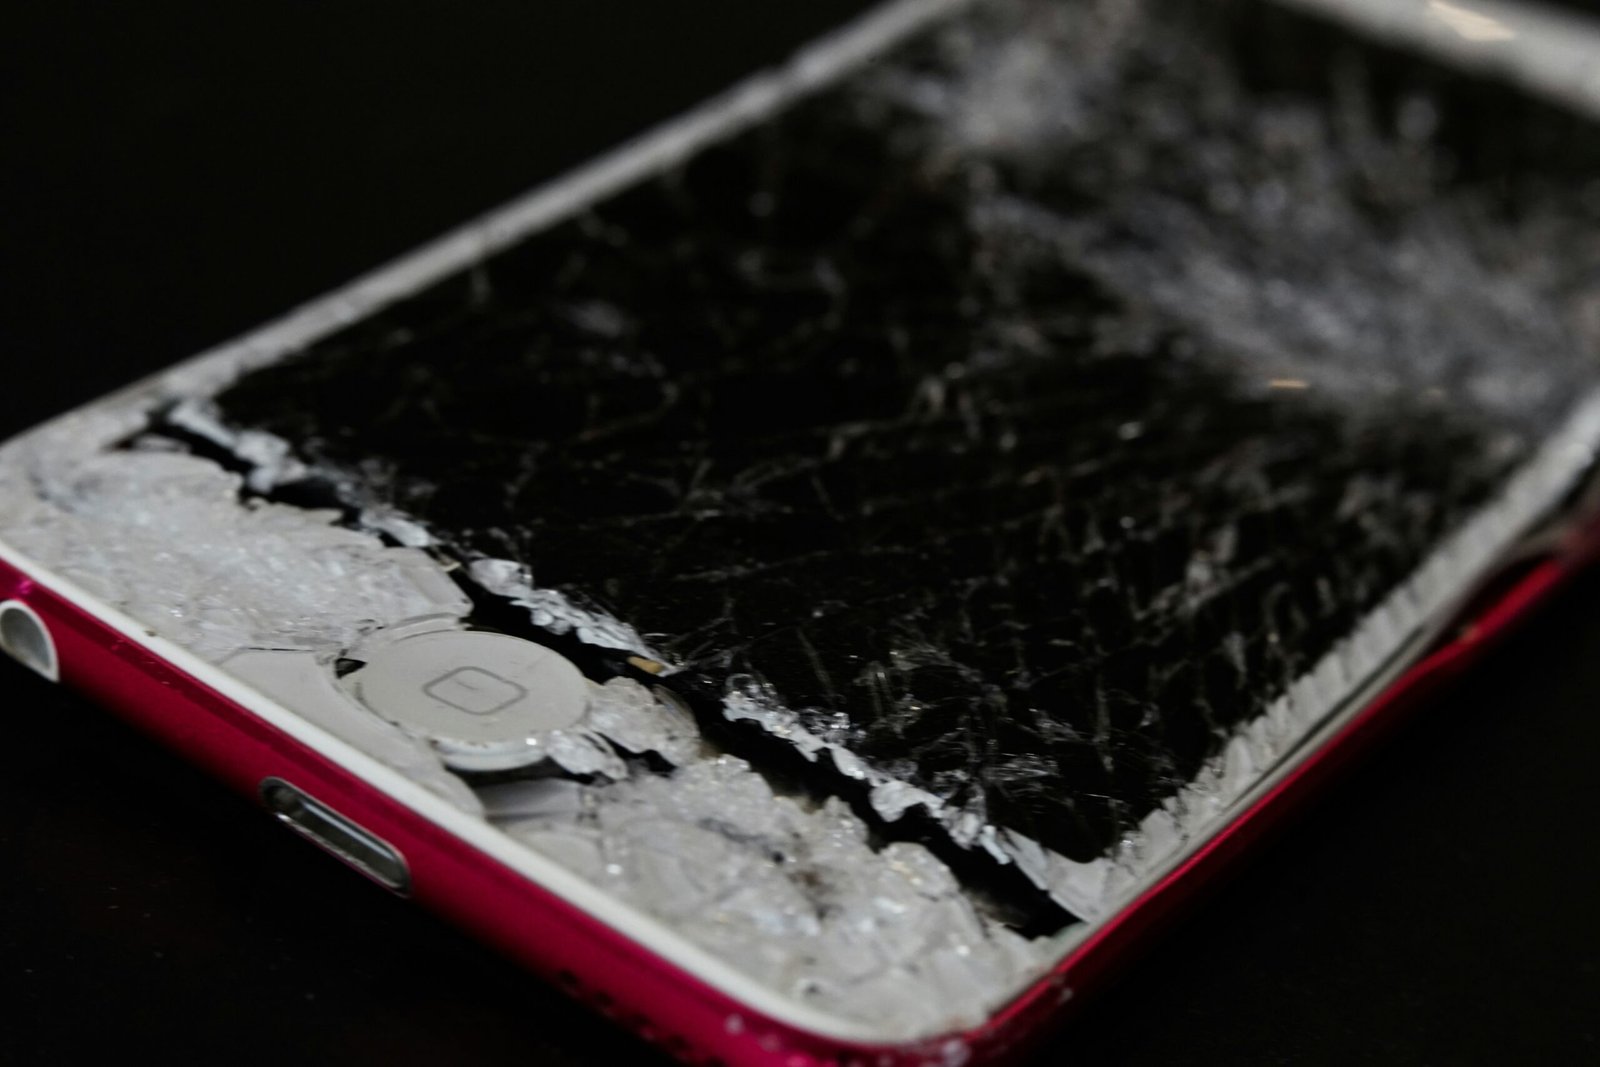
Have you accidentally cracked or shattered the screen of your iPhone XR? Don’t worry, you can replace the screen yourself with the right tools and knowledge. Follow these step-by-step instructions to successfully replace the screen of your iPhone XR and save money on costly repairs.

Gather Your Tools
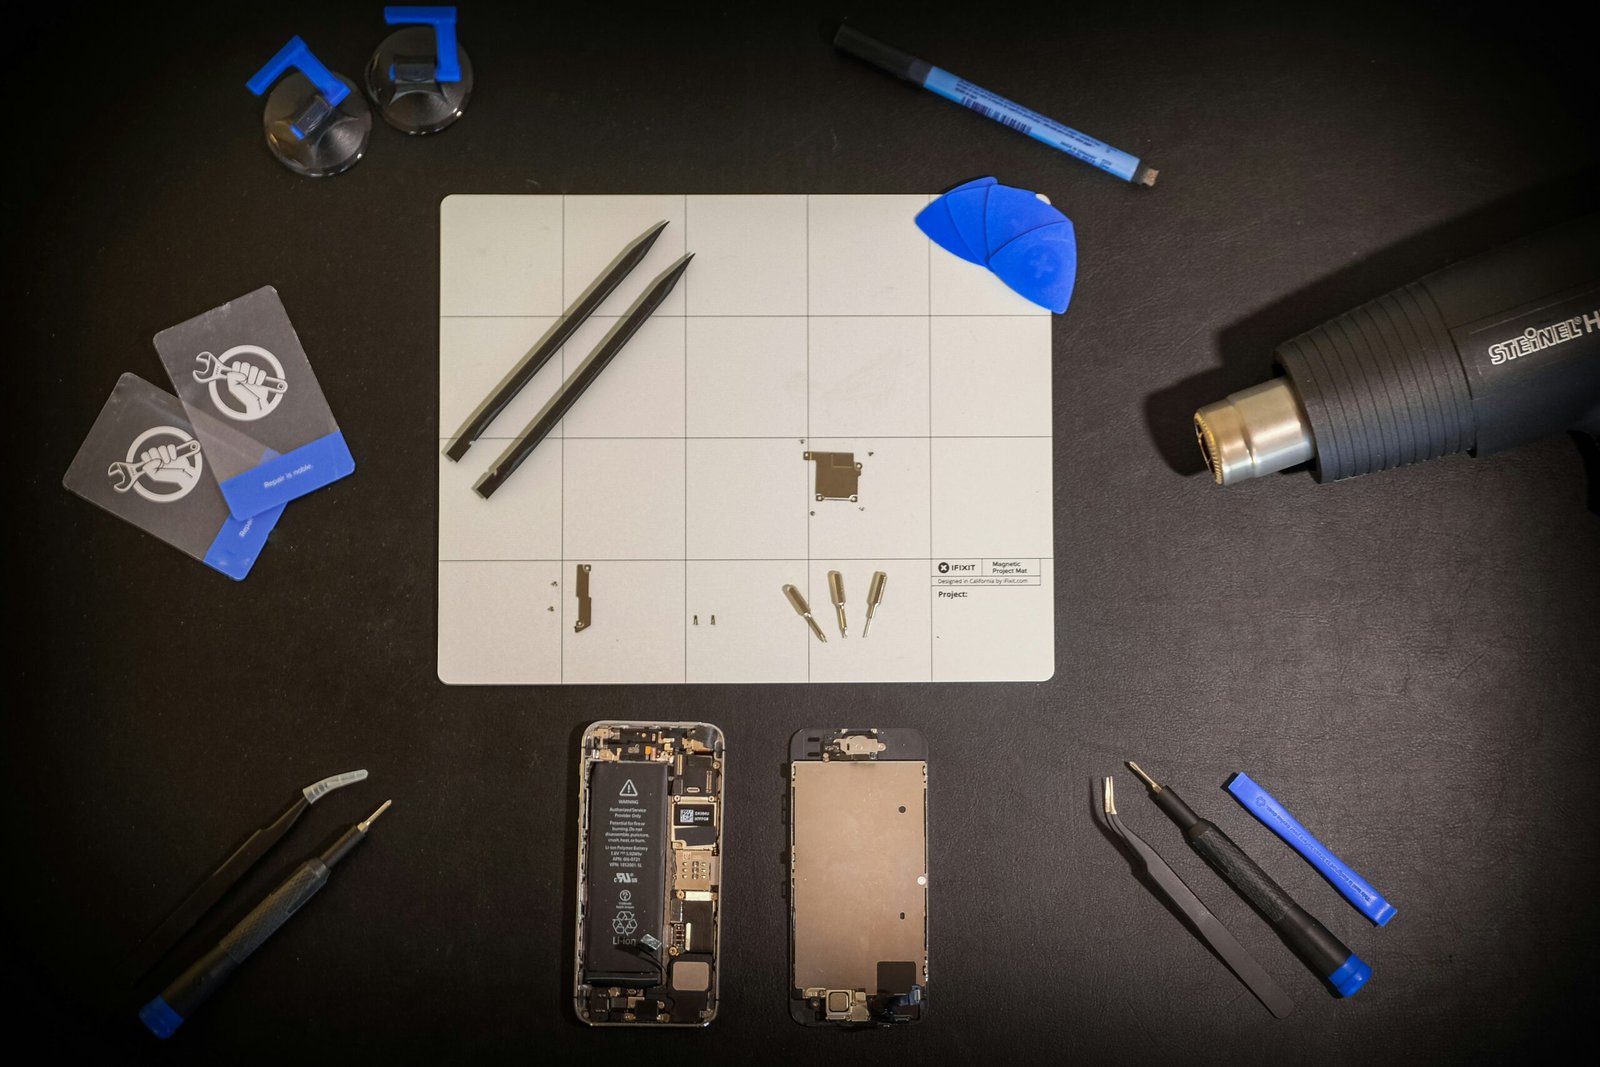
Before you begin the screen replacement process, make sure you have all the necessary tools at hand. Here is a list of tools you will need:
- Replacement iPhone XR screen
- Screwdriver set
- Opening tools (plastic picks, suction cup)
- Tweezers
- Heat gun or blow dryer
- Cleaning cloth
Having all the tools ready will make the process smoother and more efficient.
Prepare Your Workspace
Find a clean, well-lit workspace with a flat surface to work on. Make sure you have enough room to spread out your tools and parts without losing anything. Working on a clutter-free surface will help you stay organized throughout the screen replacement process.
Step 1: Power Off Your iPhone XR
Before you begin disassembling your iPhone XR, make sure to power it off completely. This will prevent any potential damage to the device during the screen replacement process.

Step 2: Remove the Screws
Use a screwdriver to remove the screws on the bottom edge of your iPhone XR. Place the screws in a secure location to avoid losing them. Once the screws are removed, gently slide the screen upwards to detach it from the frame.
Step 3: Disconnect the Battery
To ensure safety during the screen replacement process, disconnect the battery from the logic board of your iPhone XR. This will prevent any potential electrical damage while handling the screen.
Step 4: Detach the Screen
Carefully detach the screen of your iPhone XR from the frame using opening tools such as plastic picks and a suction cup. Take your time and be gentle to avoid damaging any internal components.

Step 5: Transfer Components to the New Screen
Once the old screen is removed, transfer any necessary components, such as the earpiece speaker, front camera, and proximity sensor, to the new screen. Be sure to handle these components with care to prevent any damage.
Step 6: Attach the New Screen
Carefully attach the new screen to the frame of your iPhone XR, ensuring that all connectors are properly seated and secure. Gently press the screen to ensure a snug fit with the frame.
Step 7: Reconnect the Battery
After the new screen is securely attached, reconnect the battery to the logic board of your iPhone XR. This will power up the new screen and allow you to test its functionality before reassembling the device.
Step 8: Test the New Screen
Power on your iPhone XR to test the functionality of the new screen. Check for any display issues, touch sensitivity problems, or color discrepancies. If everything is working properly, you can proceed with reassembling the device.
Step 9: Reassemble Your iPhone XR
Once you have confirmed that the new screen is working correctly, reassemble your iPhone XR by following the previous steps in reverse order. Make sure to tighten the screws securely and double-check all connections before powering on the device.
Step 10: Perform a Final Check
After reassembling your iPhone XR, perform a final check to ensure everything is in working order. Test the screen, touch sensitivity, and functionality of all components to make sure there are no issues.
Conclusion
Congratulations! You have successfully replaced the screen of your iPhone XR. By following these step-by-step instructions, you can save money on costly repairs and enjoy a brand new screen on your device. Remember to take your time, be patient, and follow each step carefully to avoid any potential damage. Happy repairing!


