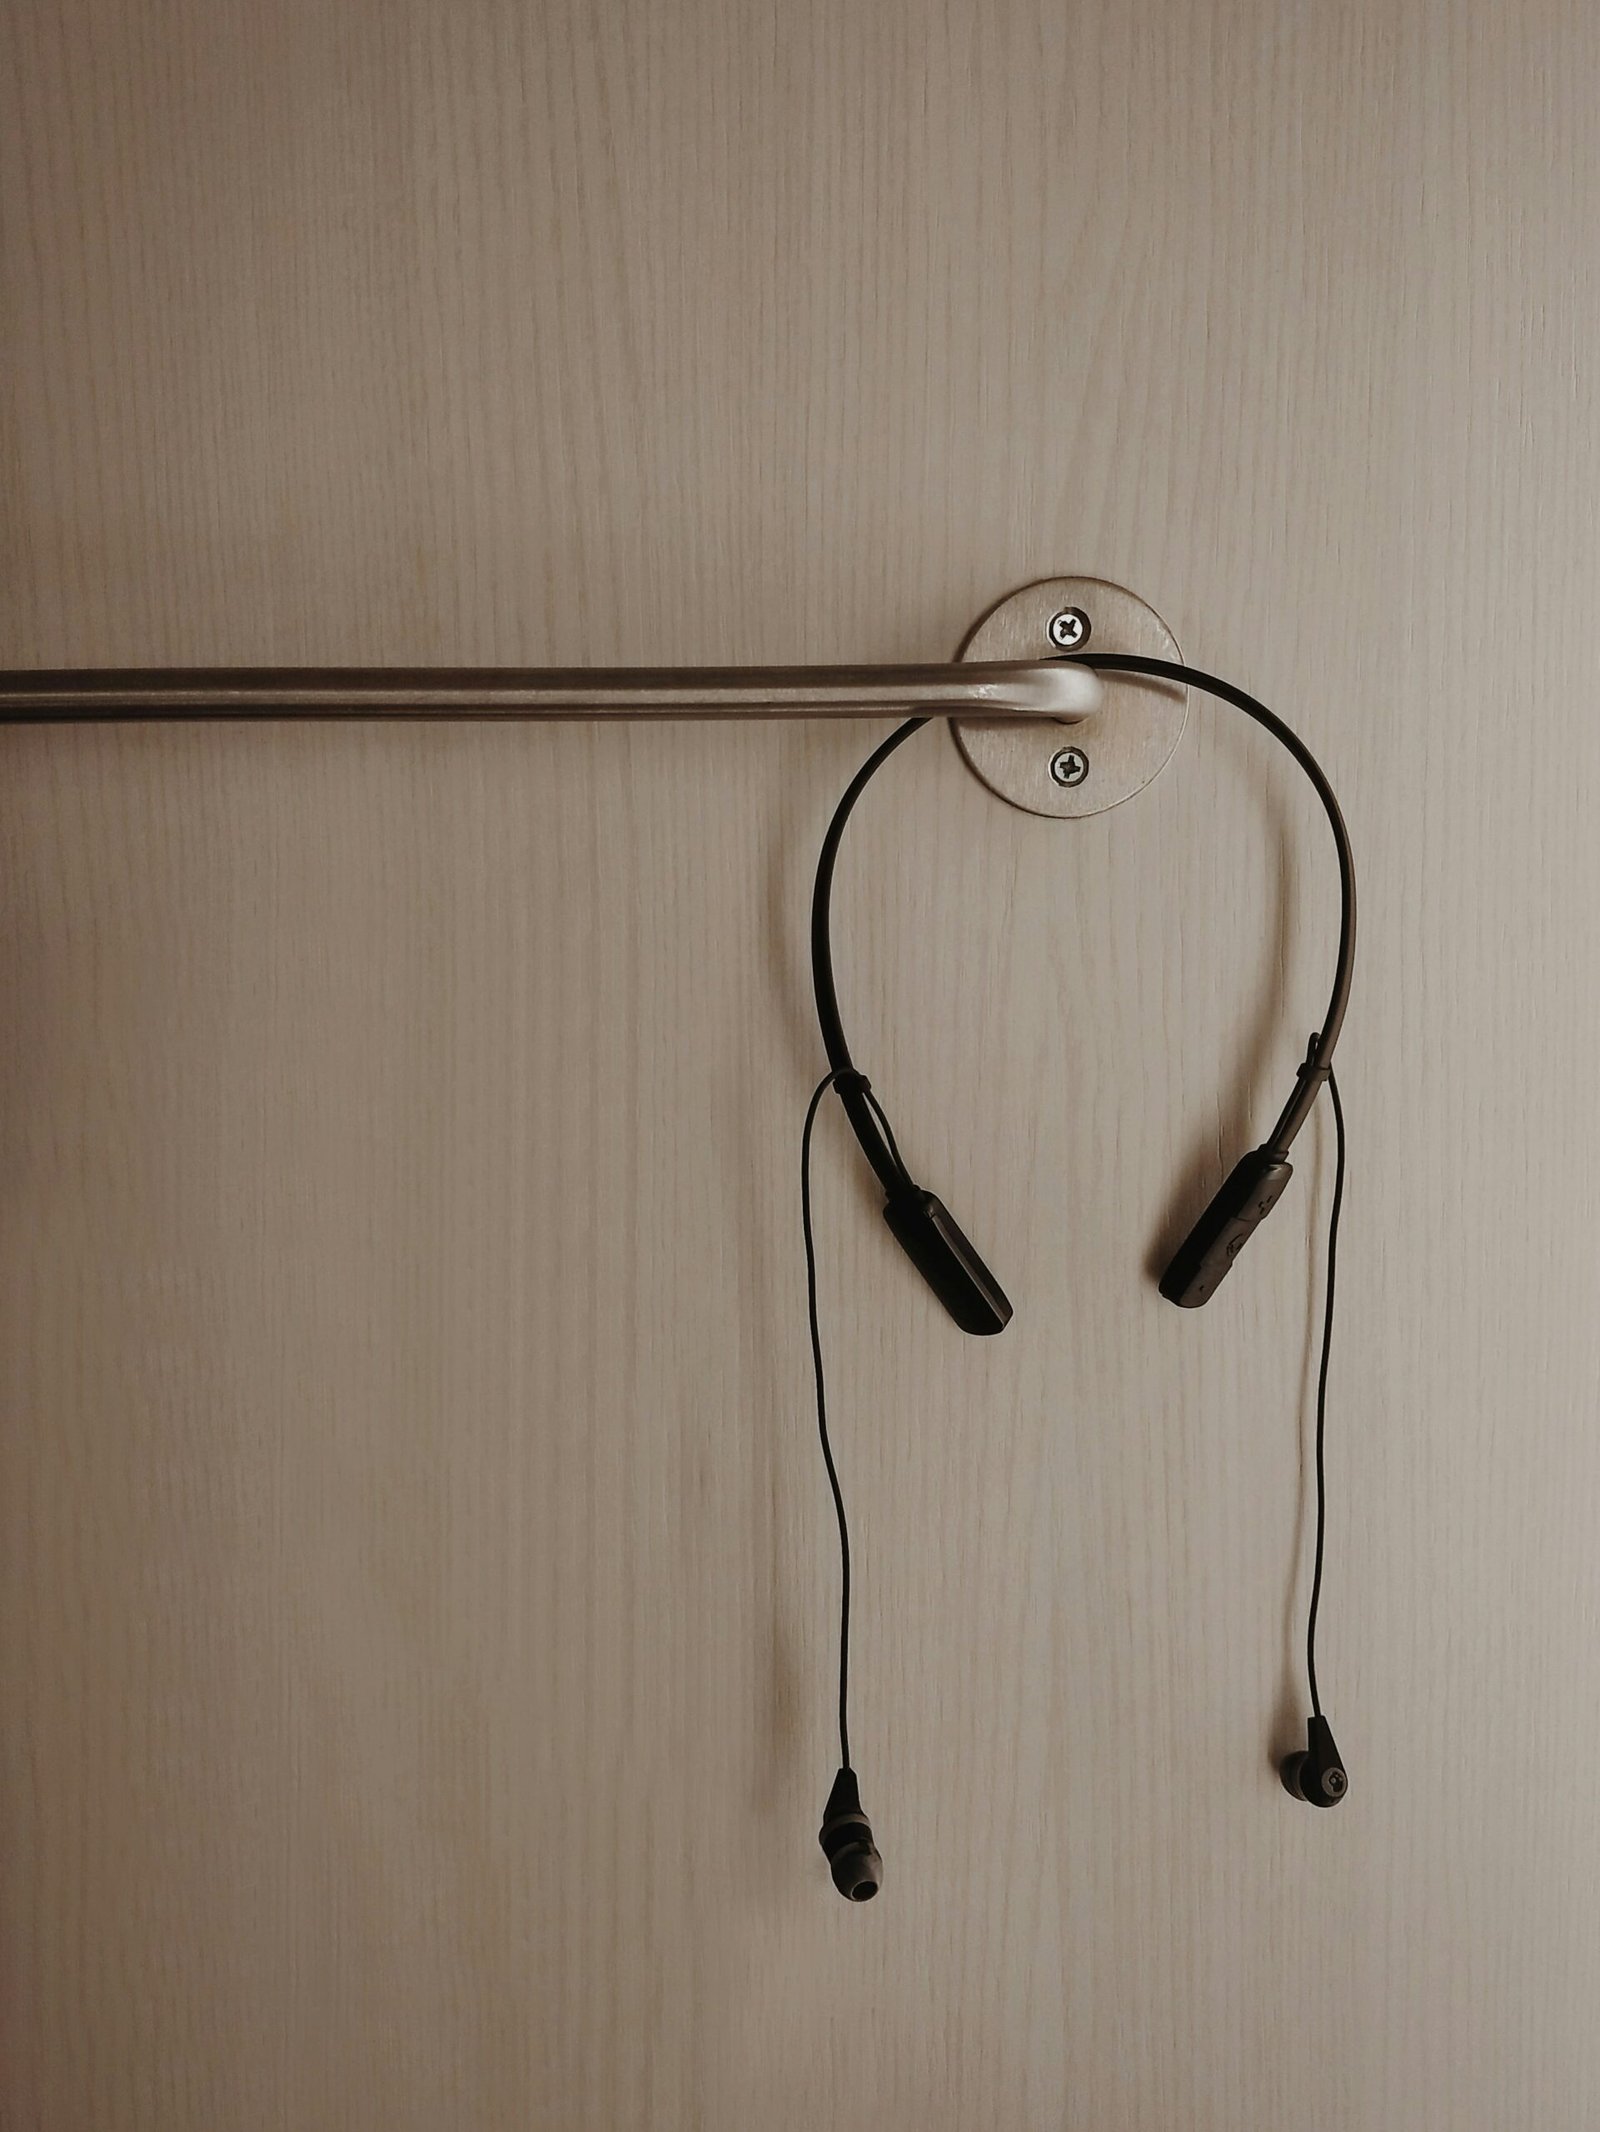
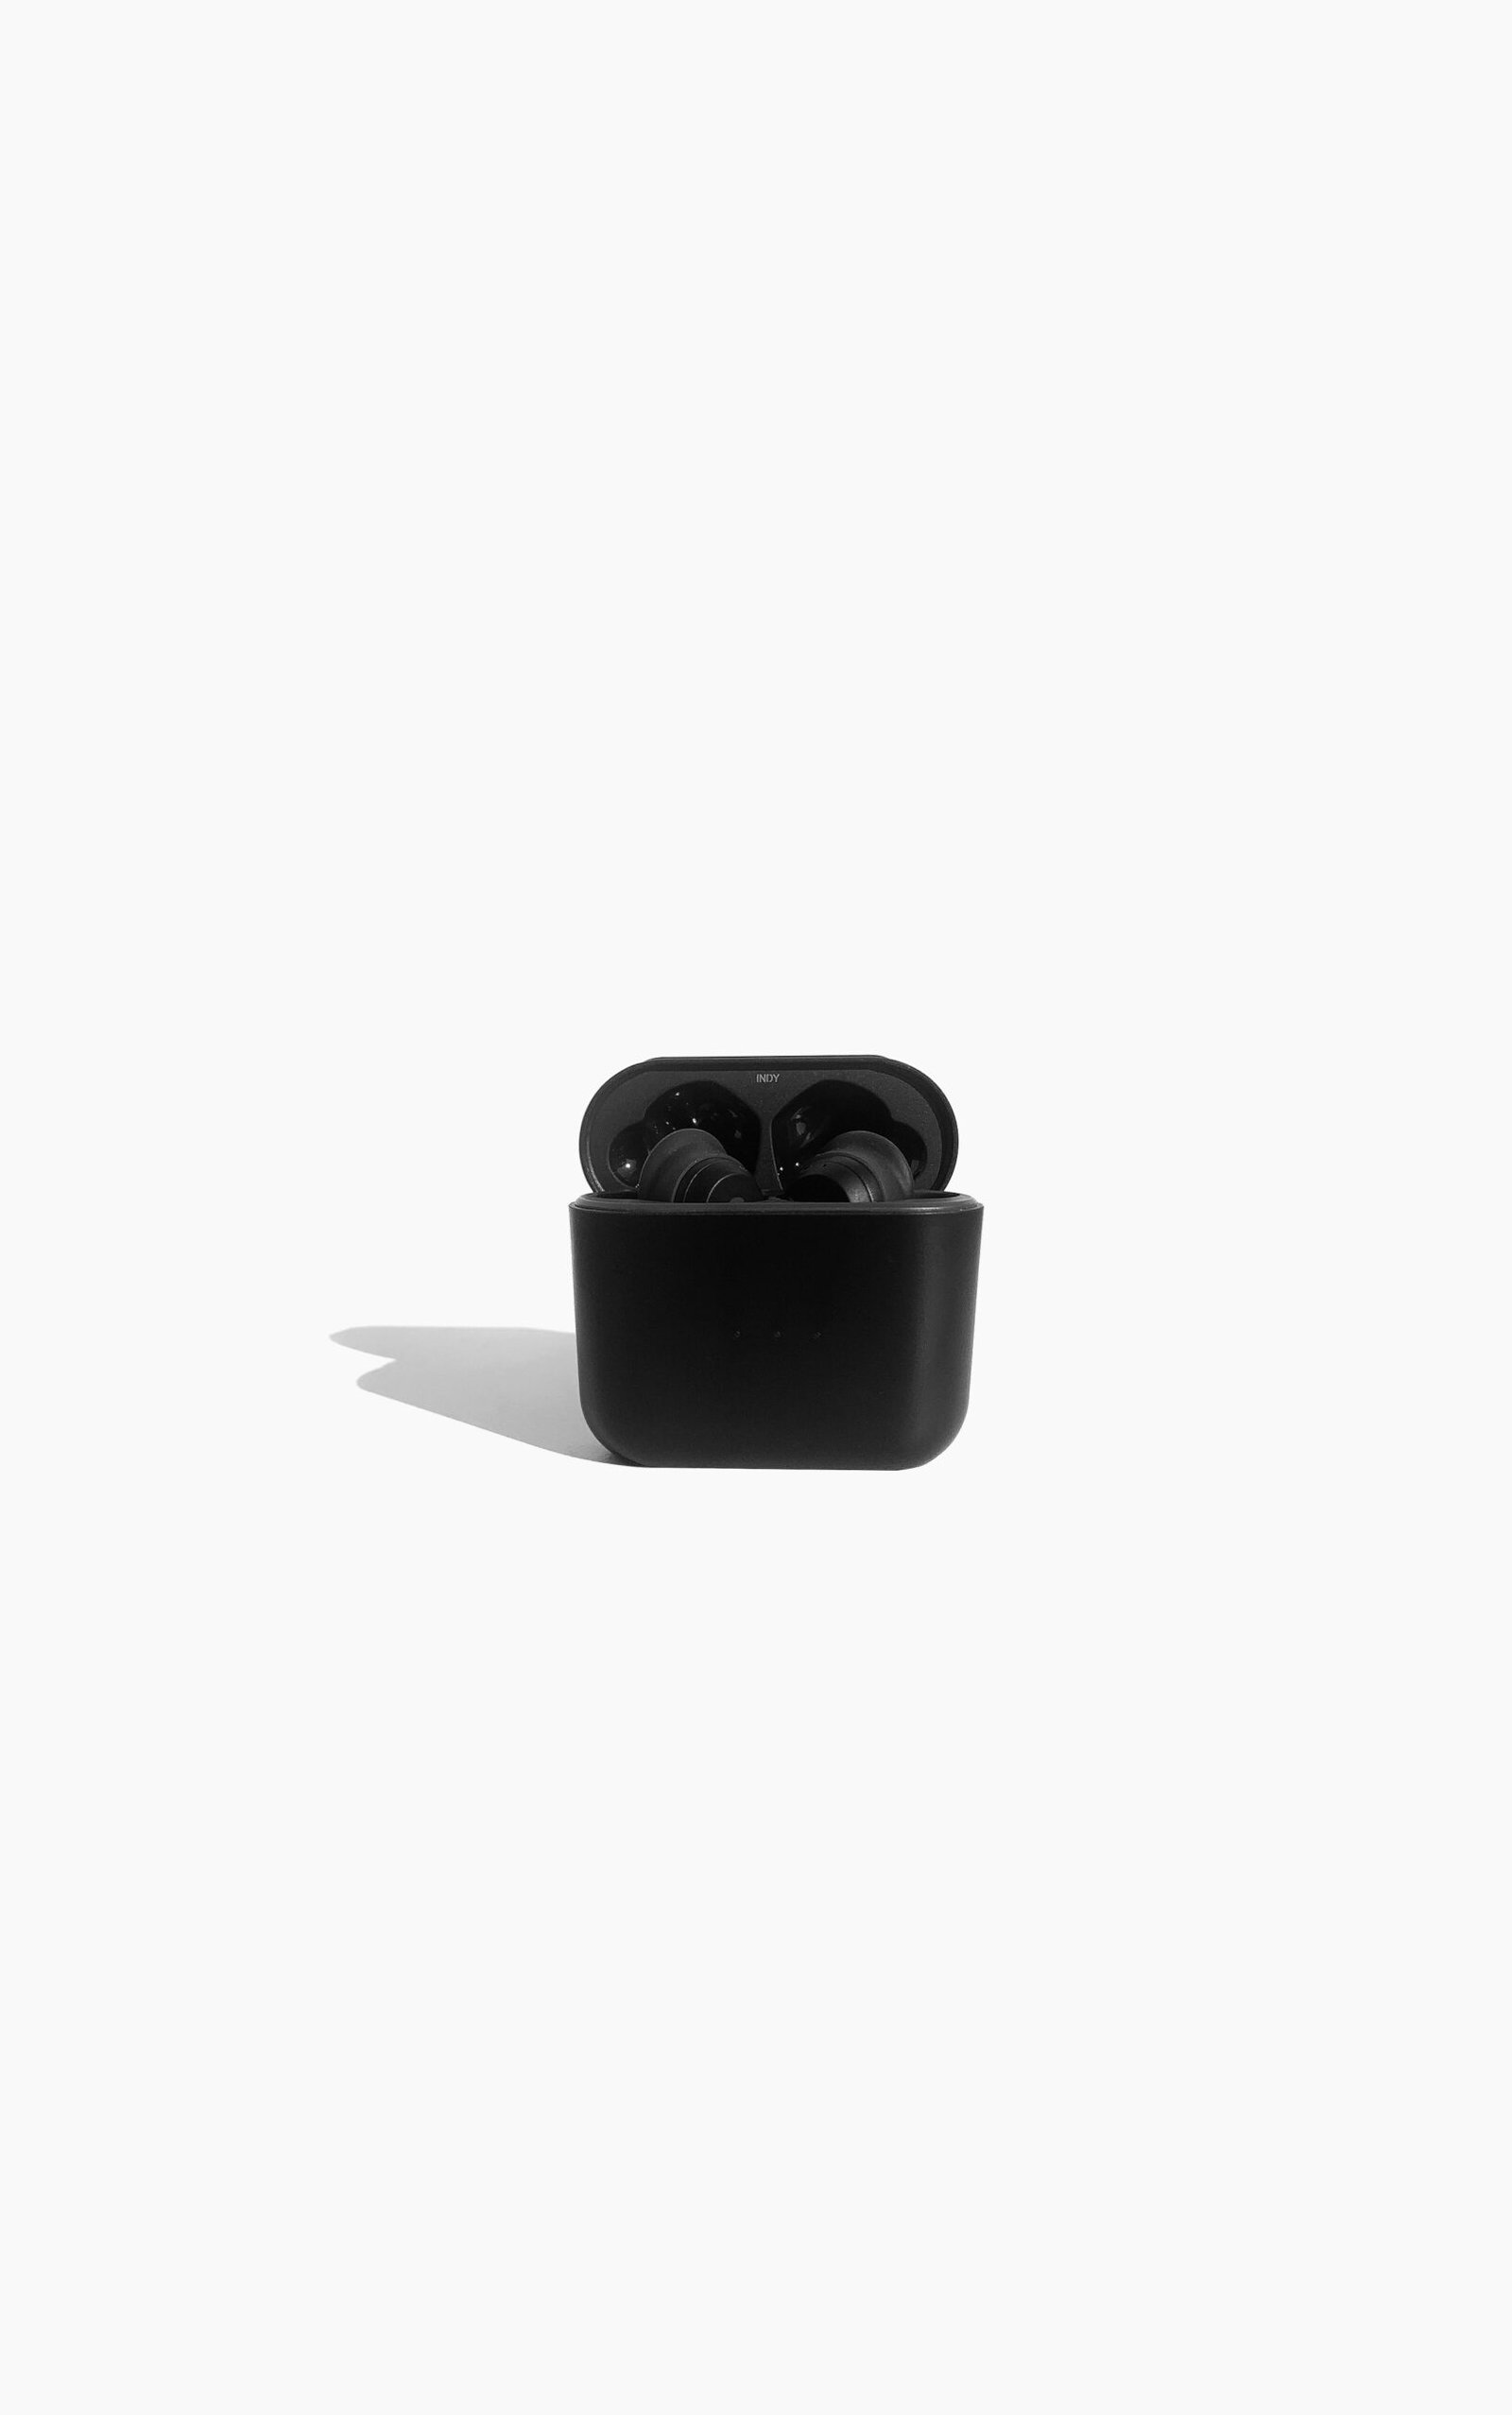
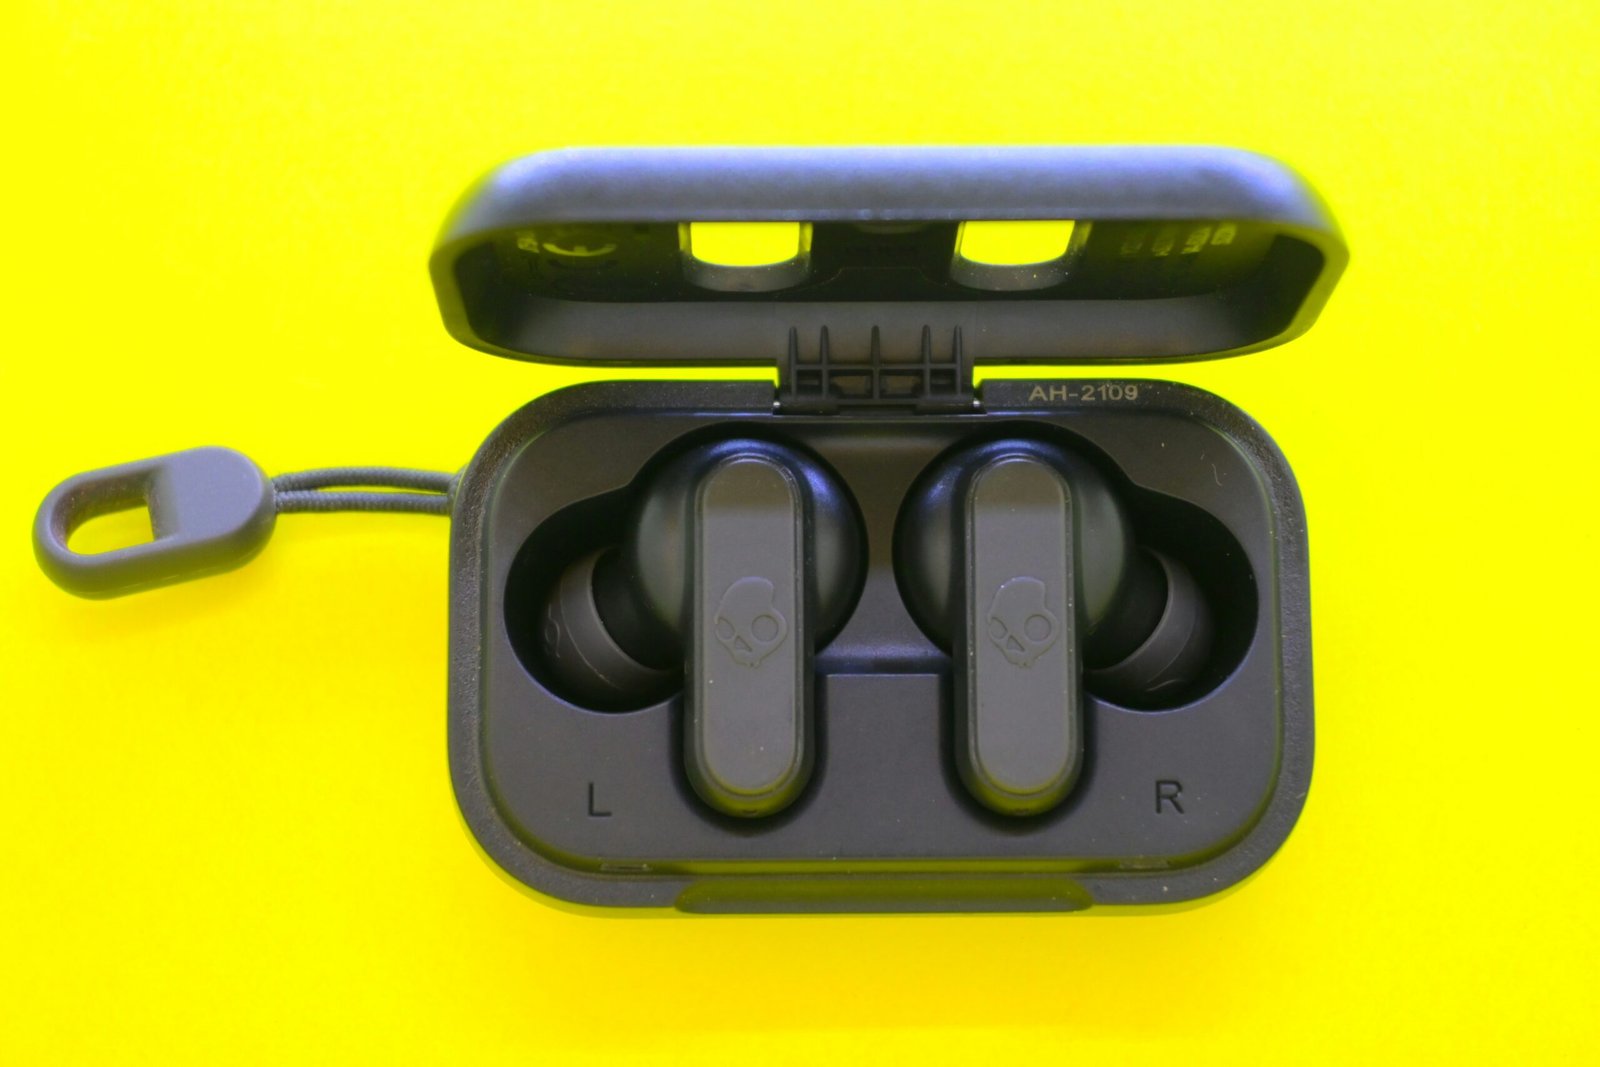
You’re probably wondering how to connect your Skullcandy wireless earbuds to your iPhone, right? Don’t worry, it’s actually quite simple. In this guide, I’ll walk you through the step-by-step process to ensure a seamless connection between your devices. Let’s get started!

Checking Your Device Compatibility
Before you begin the pairing process, it’s essential to make sure that your Skullcandy wireless earbuds are compatible with your iPhone. Most Skullcandy earbuds are designed to work with a wide range of devices, including iPhones. However, it’s always a good idea to double-check to avoid any connectivity issues down the line.
Steps
- Look for the list of compatible devices on the packaging or user manual that came with your Skullcandy wireless earbuds.
- Visit the Skullcandy official website and search for your specific model to confirm its compatibility with iPhones.
Checking compatibility will save you time and frustration by ensuring that your devices are meant to work together seamlessly.
Charging Your Skullcandy Wireless Earbuds
Before you can connect your Skullcandy wireless earbuds to your iPhone, make sure they are fully charged. Starting with a full battery will ensure a smooth and uninterrupted pairing process.
Steps
- Locate the charging port on your Skullcandy wireless earbuds. It is typically located on the bottom or side of the earbuds.
- Connect the charging cable to the charging port and plug it into a power source, such as a USB wall adapter or a computer.
- Allow your Skullcandy wireless earbuds to charge until the LED indicator light turns green, indicating a full charge.
Ensuring that your earbuds are fully charged will prevent any unexpected disconnections during use.

Putting Your Skullcandy Wireless Earbuds in Pairing Mode
To connect your Skullcandy wireless earbuds to your iPhone, you’ll need to put them in pairing mode. This allows your iPhone to discover and connect to the earbuds effortlessly.
Steps
- Power on your Skullcandy wireless earbuds by pressing and holding the power button for a few seconds until the LED indicator light flashes or turns solid.
- Look for the pairing mode indicator, usually indicated by a flashing LED light or specific sound prompts. Refer to your earbuds’ user manual for the exact pairing mode activation method.
Putting your earbuds in pairing mode is a crucial step to prepare them for connection with your iPhone.
Pairing Your Skullcandy Wireless Earbuds with Your iPhone
Now that your Skullcandy wireless earbuds are in pairing mode, it’s time to connect them to your iPhone. The pairing process allows your devices to establish a wireless connection and communicate with each other effectively.
Steps
- Open the Bluetooth settings on your iPhone by going to Settings > Bluetooth.
- Make sure Bluetooth is turned on by toggling the switch to the right.
- Your iPhone will start scanning for available Bluetooth devices. Look for your Skullcandy wireless earbuds in the list of available devices.
- Select your Skullcandy earbuds from the list to initiate the pairing process.
- Follow any on-screen prompts or enter a pairing code if required. Refer to your earbuds’ user manual for any specific instructions.
Once successfully paired, your Skullcandy wireless earbuds will be connected to your iPhone, allowing you to enjoy your favorite music and take calls wirelessly.

Troubleshooting Connectivity Issues
If you encounter any connectivity issues while trying to connect your Skullcandy wireless earbuds to your iPhone, don’t panic. There are a few troubleshooting steps you can take to resolve common problems and ensure a stable connection.
Steps
- Ensure that your Skullcandy wireless earbuds are fully charged and in pairing mode.
- Restart both your earbuds and iPhone by turning them off and back on.
- Forget the Bluetooth connection on your iPhone by selecting your earbuds in the Bluetooth settings and tapping “Forget This Device.”
- Reset your Skullcandy wireless earbuds to factory settings by following the instructions in the user manual.
- Update the firmware on your earbuds and iPhone to the latest versions to resolve any compatibility issues.
By following these troubleshooting steps, you can overcome connectivity issues and establish a reliable connection between your Skullcandy wireless earbuds and iPhone.
Managing Bluetooth Connections on Your iPhone
Once you have successfully connected your Skullcandy wireless earbuds to your iPhone, it’s essential to know how to manage Bluetooth connections effectively. This will help you switch between devices, disconnect, or troubleshoot any Bluetooth-related issues in the future.
Steps
- Access the Bluetooth settings on your iPhone by going to Settings > Bluetooth.
- To disconnect your Skullcandy wireless earbuds, tap on the “i” next to the device name and select “Disconnect.”
- To forget the Bluetooth connection entirely, tap on “Forget This Device” and confirm your action.
- To reconnect your earbuds later, simply turn them on and select them from the list of available Bluetooth devices on your iPhone.
Knowing how to manage Bluetooth connections on your iPhone will give you more control over your wireless devices and improve your overall experience.
Enjoying Your Music with Skullcandy Wireless Earbuds
Now that you’ve successfully connected your Skullcandy wireless earbuds to your iPhone, it’s time to immerse yourself in your favorite music, podcasts, or videos. The wireless connection provides you with the freedom to move without the hassle of tangled cords.
Tips
- Experiment with different earbud tips to find the most comfortable and secure fit for your ears.
- Adjust the volume and playback controls directly from your earbuds for added convenience.
- Take advantage of noise-canceling features to block out background noise and enhance your audio experience.
With your Skullcandy wireless earbuds connected to your iPhone, you can enjoy high-quality sound and ultimate convenience wherever you go.
Conclusion
Congratulations! You’ve successfully learned how to connect your Skullcandy wireless earbuds to your iPhone. By following the step-by-step guide and troubleshooting tips provided in this article, you can now enjoy a seamless wireless audio experience on your iPhone. If you have any further questions or encounter any issues, don’t hesitate to refer back to this guide for assistance. Happy listening!


