Are there certain videos on your iPhone that you’d prefer to keep private? Whether it’s a sensitive video or simply something you don’t want others stumbling upon, there’s a simple solution: learn how to hide videos on your iPhone. In this article, we’ll walk you through the process of securely hiding your videos on your iPhone, so you can have peace of mind knowing that your personal videos remain private and protected.

Why Hide Videos on iPhone
Sometimes, you may have videos on your iPhone that you prefer to keep private. Whether it’s personal videos, sensitive content, or just videos that you don’t want others to see, hiding them can provide you with peace of mind. Fortunately, there are several methods you can use to hide videos on your iPhone, ensuring that they stay out of prying eyes. In this comprehensive guide, we will walk you through various techniques to hide videos on your iPhone, allowing you to maintain your privacy and keep your personal videos secure.
Method 1: Hide Videos in the Photos App
If you want a straightforward and convenient way to hide videos on your iPhone, using the built-in Photos app is a great option. Here’s how you can do it:
Step 1: Open the Photos app
Launch the Photos app on your iPhone by tapping on its icon. This app is automatically installed on your device and can be found on the home screen or in the app library.
Step 2: Select the videos you want to hide
After opening the app, navigate to the “Albums” tab at the bottom of the screen. From there, locate the album that contains the videos you wish to hide.
Step 3: Tap on the Share button
Once you’ve found the album, tap on it to open it. Then, select the specific videos that you want to hide. To do this, tap on the “Select” button in the top right corner of the screen.
Step 4: Choose the Hide option
After selecting the videos, tap on the share button, which is represented by a box with an arrow pointing upwards. It is usually located at the bottom left corner of the screen.
Step 5: Confirm the action
In the share menu, you will see a variety of options. Scroll down until you find the “Hide” option. Tap on it, and a confirmation pop-up will appear. Confirm the action by selecting “Hide Photo” or “Hide Video.”
By following these simple steps, the videos you have selected will now be hidden in the Photos app on your iPhone. However, please note that they will still be visible in the “Hidden” album within the Photos app.

Method 2: Use the Notes app to Hide Videos
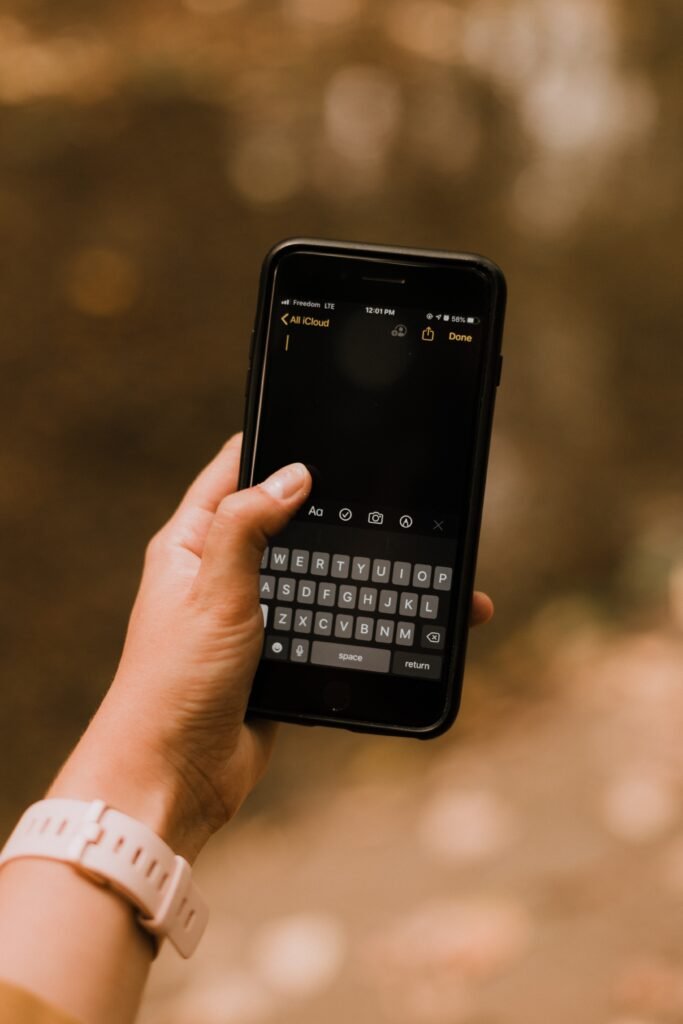
Another method you can use to hide videos on your iPhone is by utilizing the Notes app. While primarily designed for taking notes, the app also allows you to attach various media files, including videos. Here’s how you can hide videos using the Notes app:
Step 1: Open the Notes app
Locate and open the Notes app on your iPhone. It is represented by a yellow icon with a pencil.
Step 2: Create a new note or choose an existing one
Once inside the Notes app, you have the option to create a new note or select an existing one. If you want to hide videos within an existing note, tap on it to open it. Otherwise, create a new note by clicking on the “+” icon located at the bottom right corner of the screen.
Step 3: Tap on the camera icon
To attach a video to a note, you need to tap on the camera icon, which is located above the keyboard. This action will open the media options.
Step 4: Select the video from your gallery
From the media options, select “Photo Library” or “Video Library” to access your iPhone’s gallery. Locate the video you wish to hide and select it.
Step 5: Tap on the Share button
After selecting the video, tap on the share button, which is represented by a box with an arrow pointing upwards. This will open the share menu.
Step 6: Choose the Lock Note option
In the share menu, scroll down until you find the “Lock Note” option. Tap on it, and if you haven’t set up a password or Touch ID for the Notes app, you will be prompted to create one. Follow the prompts to set up a passcode or another security measure for the app.
Using the Notes app to hide your videos provides an additional layer of security. Once you’ve locked the note, the video will no longer be visible unless you enter the passcode or use Touch ID to unlock it.
Method 3: Utilize Third-Party Apps to Hide Videos
If you prefer more advanced features and enhanced security, utilizing third-party apps specifically designed for hiding videos is an excellent option. These apps often provide additional privacy settings and more effective methods of hiding videos. Here’s how you can use third-party apps to hide videos on your iPhone:
Step 1: Search for a privacy-focused video vault app
Open the App Store on your iPhone and search for a privacy-focused video vault app. There are several options available, such as Secret Photo & Video Vault, KYMS, and KeepSafe.
Step 2: Install and open the chosen app
Once you’ve selected an app, install it on your iPhone, and open it by clicking on its icon. Follow any initial setup instructions or prompts to get started.
Step 3: Set up a passcode or any other security measure
To ensure the security of your hidden videos, the app will usually require you to set up a passcode or another security measure. Follow the app’s instructions to create a secure access code.
Step 4: Import your videos into the app’s secure storage
After setting up the security measures, you can import the videos you want to hide into the app’s secure storage. This process may vary depending on the app, but it often involves selecting the videos from your iPhone’s gallery and transferring them to the app’s protected storage.
Step 5: Adjust additional privacy settings if desired
Many of these apps offer various privacy settings that you can adjust to further protect your videos. For example, you may have the option to enable encryption, create decoy accounts, or disguise the app as something else on your home screen.
By utilizing third-party video vault apps, you can take advantage of their comprehensive privacy features and ensure that your videos remain hidden and secure.


