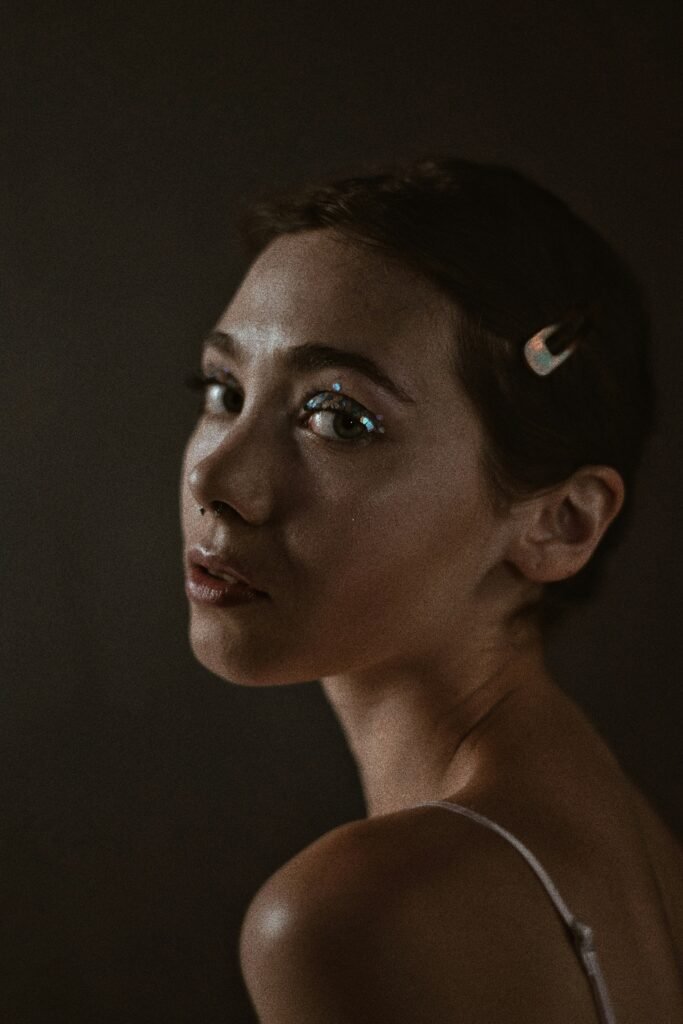
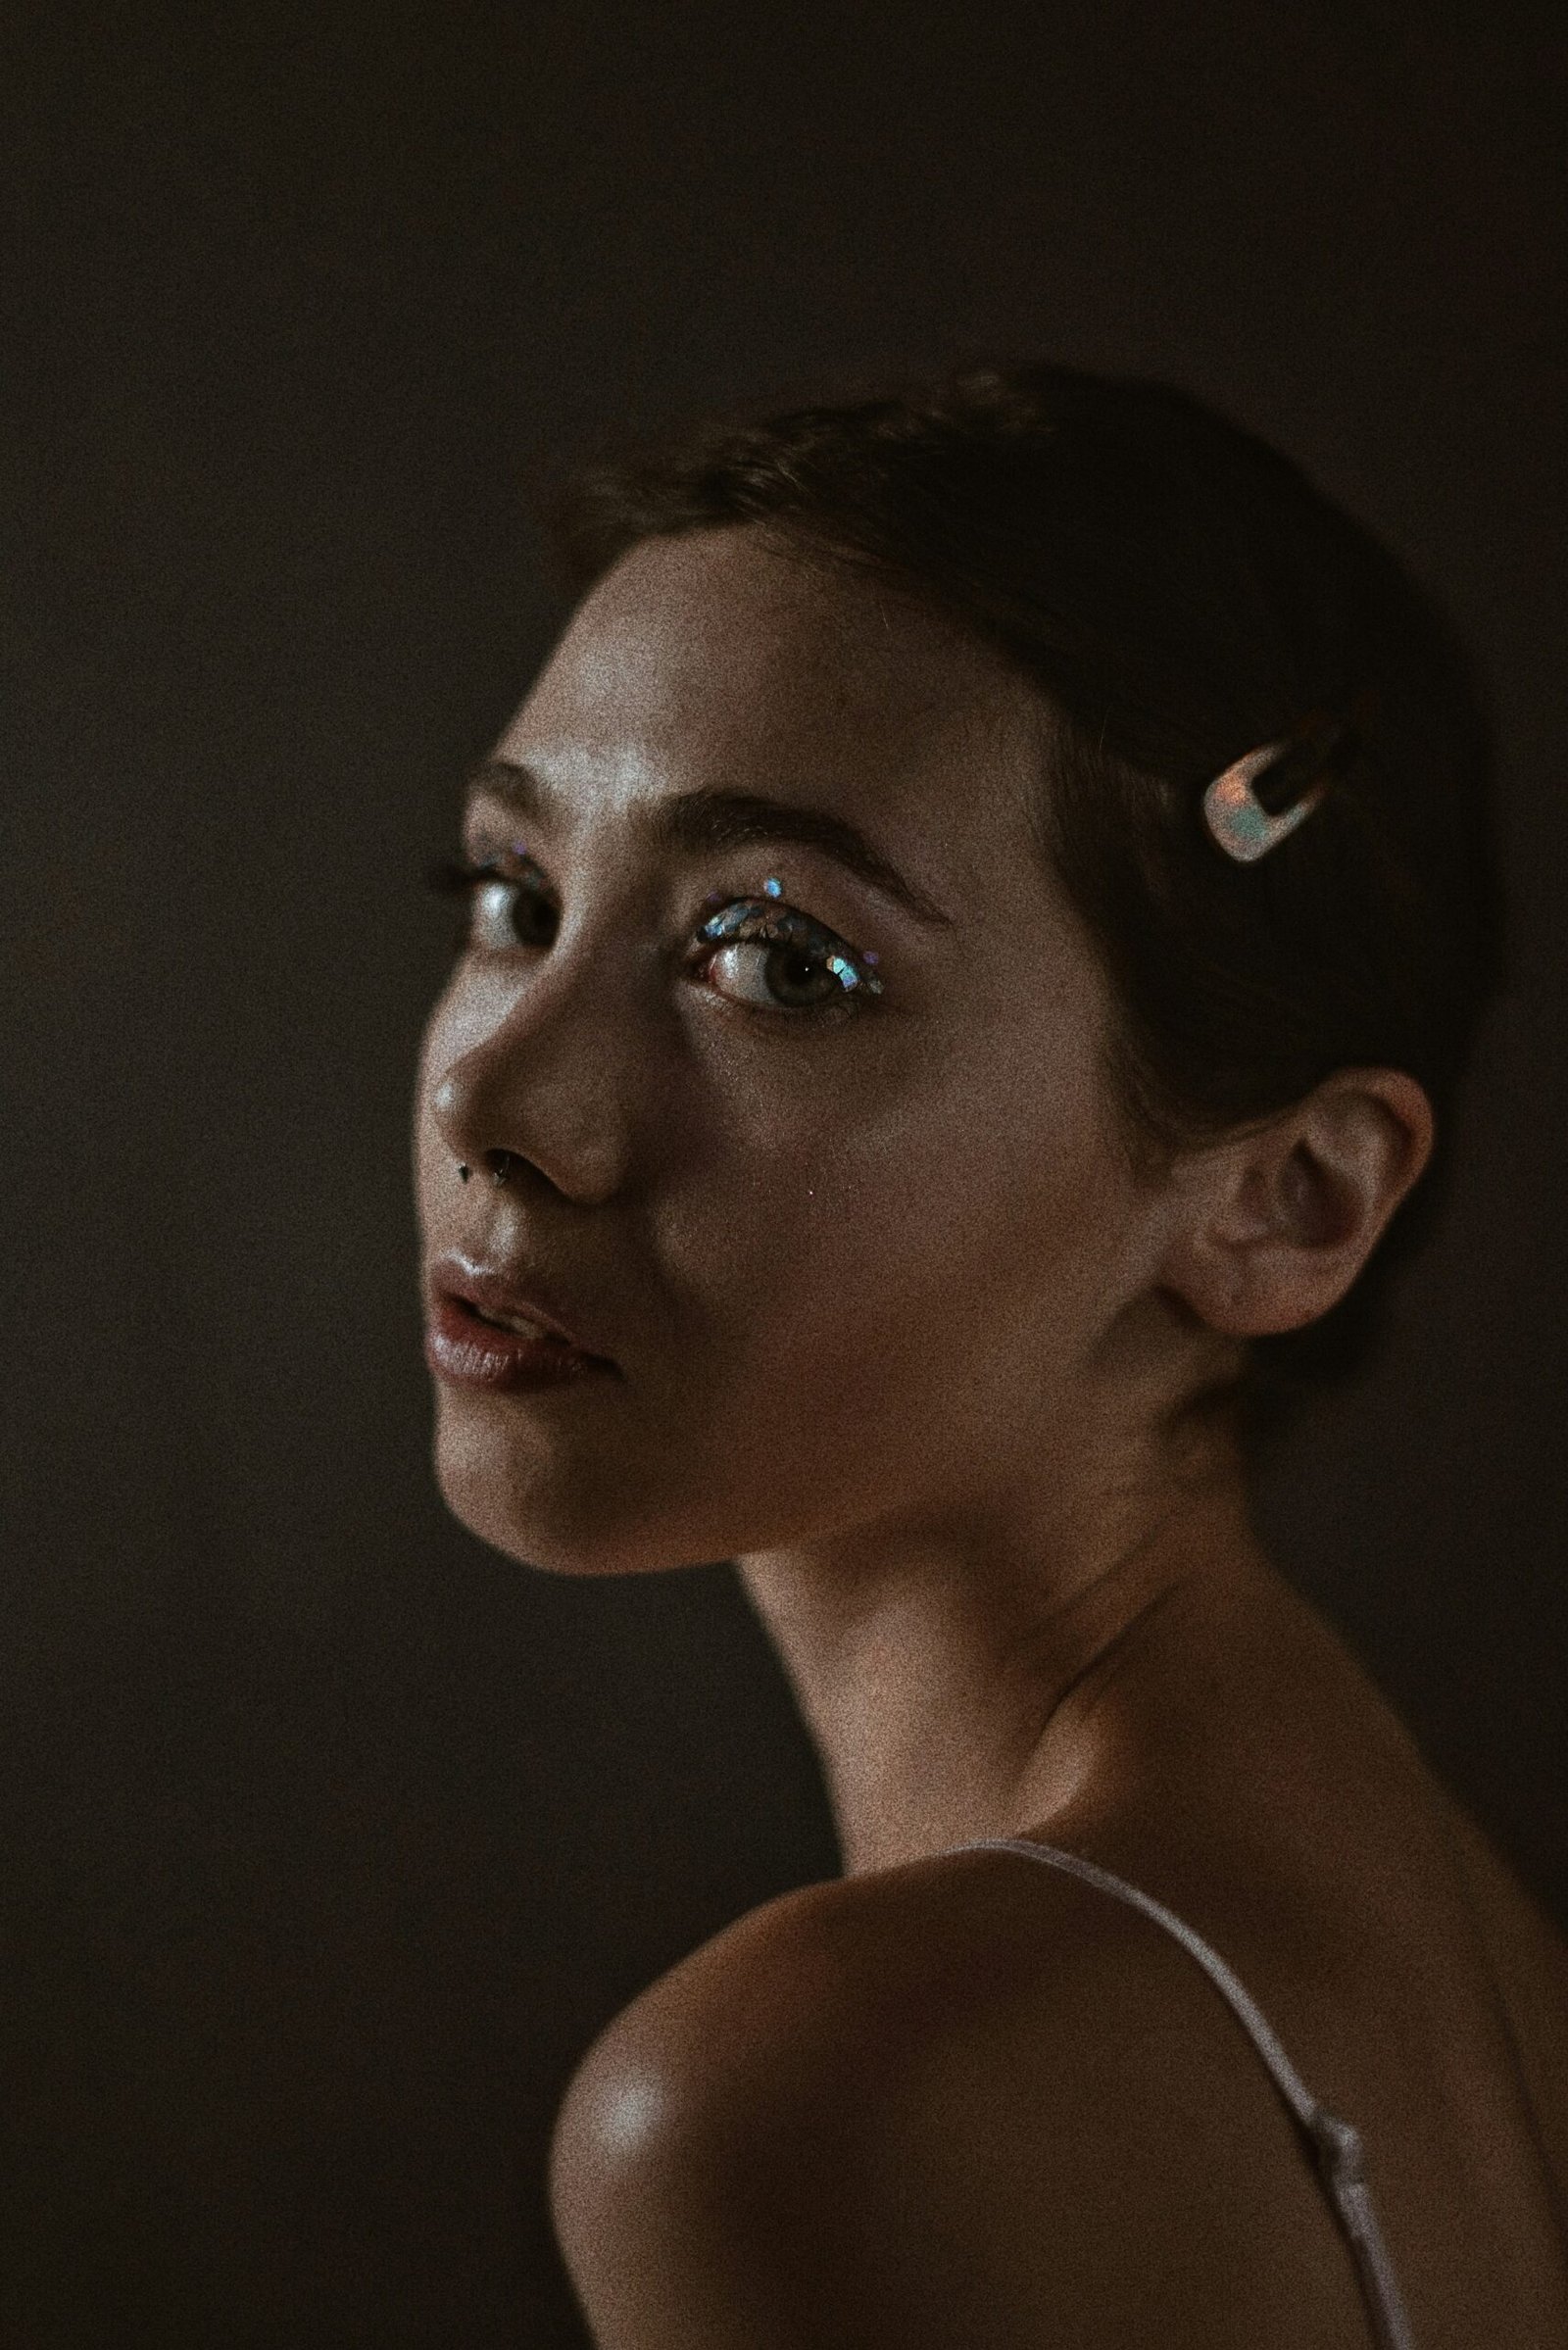
So, you’ve got an iPhone and you’re interested in taking a professional-looking headshot? Look no further! In this article, we’ll guide you through the step-by-step process of capturing a stunning headshot using just your iPhone. Whether you’re an aspiring model, actor, or business professional, we’ve got you covered with our simple and effective tips. Say goodbye to expensive photography sessions and hello to a high-quality headshot right from the convenience of your own phone. Get ready to impress with our expert techniques!

Prepare Your iPhone
Before you begin taking headshots with your iPhone, it’s important to make sure your device is ready to capture high-quality photos. Start by cleaning the camera lens. Over time, the lens can accumulate fingerprints, dust, and smudges, which can affect the clarity of your shots. Simply use a microfiber cloth or a lens cleaning solution to gently wipe the lens and remove any debris.
Once the lens is clean, it’s time to adjust the camera settings. Open the camera app on your iPhone and locate the settings icon. From there, you can adjust options such as resolution, HDR, and flash. Experiment with different settings to find the ones that work best for your specific shooting conditions.
Set Up Your Shot
Finding the right location and background is crucial for a great headshot. Look for a well-lit area with plenty of natural light. Natural light can create a soft and flattering ambiance for your photos, and it helps to avoid harsh shadows or overexposure. Avoid shooting in dimly lit areas or under harsh artificial lighting, as this can result in grainy or unflattering photos.
When it comes to the background, opt for something plain and uncluttered. A simple backdrop, such as a blank wall or a solid-colored curtain, helps to draw attention to the subject – you! Avoid busy or distracting backgrounds that could take away from the focus of the photo.
Positioning yourself correctly is also important. Stand or sit with good posture, keeping your shoulders relaxed and your chin slightly lifted. Find a pose that makes you feel comfortable and confident. Experiment with different angles to find the most flattering position for your face.

Framing the Shot
To create a visually appealing headshot, consider using the rule of thirds. Imagine dividing your camera frame into a grid of nine equal sections, with two vertical and two horizontal lines. Positioning the main elements of your photo along these lines or at their intersections can create a balanced and more interesting composition.
When framing your shot, make sure to center your face. Place your eyes at the level of the upper third line for a traditional headshot. Centering your face helps to create a balanced composition and ensures that your features are the focal point of the photo.
Don’t be afraid to experiment with different angles. Tilting your head slightly or shooting from a different perspective can add depth and personality to your photos. Try shooting from above, below, or from the side to find the most flattering angle for your face shape.
Focus and Exposure
To ensure sharpness and clarity in your headshots, it’s important to focus correctly. Tap on the screen of your iPhone where you want the camera to focus. This helps to ensure that the most important part of the photo – your face – is in focus. You can also experiment with focusing on other details, such as your eyes or a specific feature, to create artistic and engaging shots.
In addition to focusing, adjusting the exposure manually can help you achieve the desired lighting for your headshots. If your photo appears too dark or too bright, simply swipe up or down on the screen to adjust the exposure level. This allows you to have more control over the lighting conditions, especially in challenging lighting situations.

Portrait Mode
If you have an iPhone that supports portrait mode, take advantage of this feature for your headshots. Portrait mode uses depth-of-field effect to create a professional-looking background blur, also known as bokeh. It helps to separate your face from the background, giving your headshots a more polished and sophisticated look.
To use portrait mode, open your camera app and swipe to the “Portrait” mode. Position yourself in the frame and make sure your face is detected by the camera. If the camera recognizes your face, you will see “Portrait” displayed at the top of the screen. Press the shutter button to capture your headshot with the depth effect.
Using a Selfie Stick or Tripod
To achieve a more stable shot and include a wider background area, you can attach your iPhone to a selfie stick or tripod. This allows you to position the camera at a distance from your face, giving a more natural perspective. Make sure to securely attach your iPhone to the selfie stick or tripod to avoid any accidents or shaky shots.
Set up the desired frame by adjusting the angle and height of the selfie stick or tripod. You can experiment with different heights and angles to find the most flattering and interesting composition. Using a selfie stick or tripod also gives you more freedom to pose and express yourself without worrying about holding the phone.
Timer and Burst Mode
The timer function on your iPhone can be a useful tool when taking headshots. It allows you to set a countdown before the photo is taken, giving you time to find your pose and get ready. To utilize the timer function, open the camera app, tap on the timer icon, and select the desired duration. Position yourself correctly and wait for the timer to count down before capturing your headshot.
Burst mode is another great tool for capturing headshots. It allows you to take a series of rapid-fire photos in quick succession, ensuring that you capture the perfect moment. To use burst mode, simply hold down the shutter button in the camera app, and your iPhone will take multiple shots in a short period of time. You can review the burst shots later and choose the best ones from the series.
Picking the Right Editing App
Once you have taken your headshots, it’s time to bring them to life with some editing. Choosing a reliable editing app can make a significant difference in the final outcome of your photos. Look for apps that offer features such as brightness adjustment, contrast enhancement, and the ability to fine-tune details.
Adjusting the brightness and contrast can help to enhance the overall tones and make your headshots more vibrant. Be careful not to overdo it, as excessive adjustments can lead to unnatural-looking photos. Additionally, pay attention to the details and use editing tools to enhance specific areas, such as your eyes or skin, while maintaining a natural and realistic appearance.
Avoiding Common Mistakes
When taking headshots with your iPhone, it’s important to avoid some common mistakes that can negatively impact the final result. Firstly, avoid using the front camera for headshots. The rear camera on iPhones generally has higher resolution and better image quality, resulting in crisper and more detailed shots.
Secondly, refrain from zooming in too much. Zooming can lead to lower image quality and decreased sharpness. Instead, try to physically move closer to your subject or use the cropping tool during editing to achieve the desired composition.
Lastly, it’s best to avoid excessive use of filters or editing effects. While filters can be fun to experiment with, they can also make your headshots look unrealistic or dated. Aim for a natural and timeless look that highlights your features without relying on heavy editing.
Practice and Experiment
Taking great headshots with your iPhone is a skill that can be honed through practice and experimentation. Don’t be afraid to take multiple shots from different angles, poses, and expressions. This allows you to explore different sides of your personality and find the most flattering poses and expressions for your headshots.
Review and evaluate your photos after each session. Take note of what works and what doesn’t, and use this information to improve your future headshots. Consider seeking feedback from others to gain a fresh perspective and learn how your photos are perceived by others.
Remember, the more you practice and experiment, the better you’ll become at capturing stunning headshots with your iPhone. So go out there, have fun, and let your personality shine through your photos!


